CRM
Understanding Activities in the HubSpot CRM
HubSpot Activities is the best way to stay organised and drive results. Easily keep track of all of your tasks, projects, and goals in one place.
HubSpot tasks are a great way to manage your team's workload, but only if they're used correctly. In this blog post, we will help you do just that!
In the fast-paced world of business, time is indeed money. Success hinges on maximising efficiency and unlocking the full potential of your team. One way to achieve this is by harnessing the power of HubSpot tasks, a robust and versatile tool designed to manage your team's workload and keep everyone on track. However, to truly reap the benefits of this feature, it's essential to utilise it effectively and optimise it for peak performance.
In this blog post, we'll dive deep into the world of HubSpot Tasks, providing expert insights and guidance on how to streamline your workflows, boost productivity, and ensure your team operates like a well-oiled machine. Get ready to revolutionise your daily operations and propel your business to new heights with HubSpot Tasks.
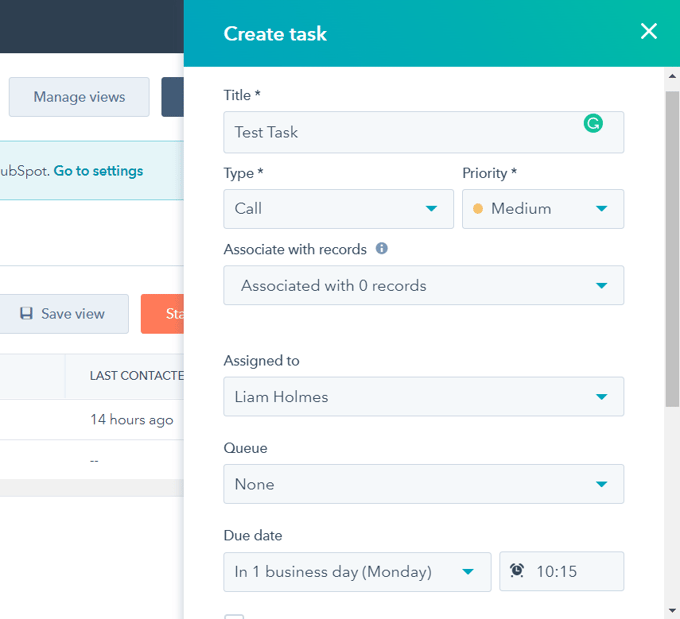
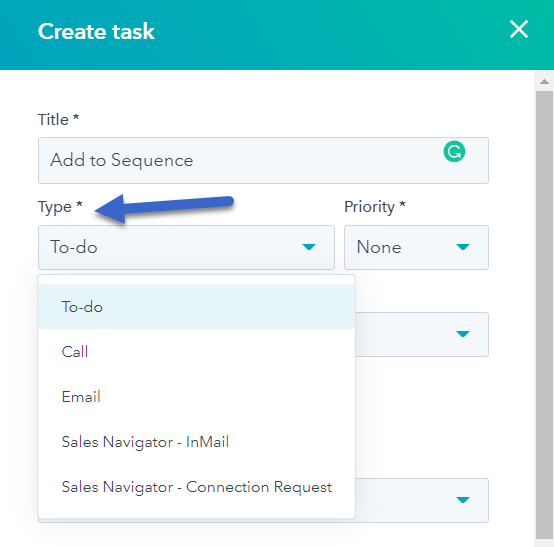
HubSpot Tasks are a powerful feature within the HubSpot platform, designed to help manage and organise the workload of marketing, sales, and customer service teams. This versatile tool enables users to create, assign, and track tasks, ensuring that deadlines are met and projects progress smoothly.
Users of HubSpot Tasks typically include marketing professionals, sales representatives, account managers, and customer service agents. The tool is particularly beneficial for those who need to manage numerous projects or clients simultaneously, as it helps to streamline workflows and increase overall efficiency.
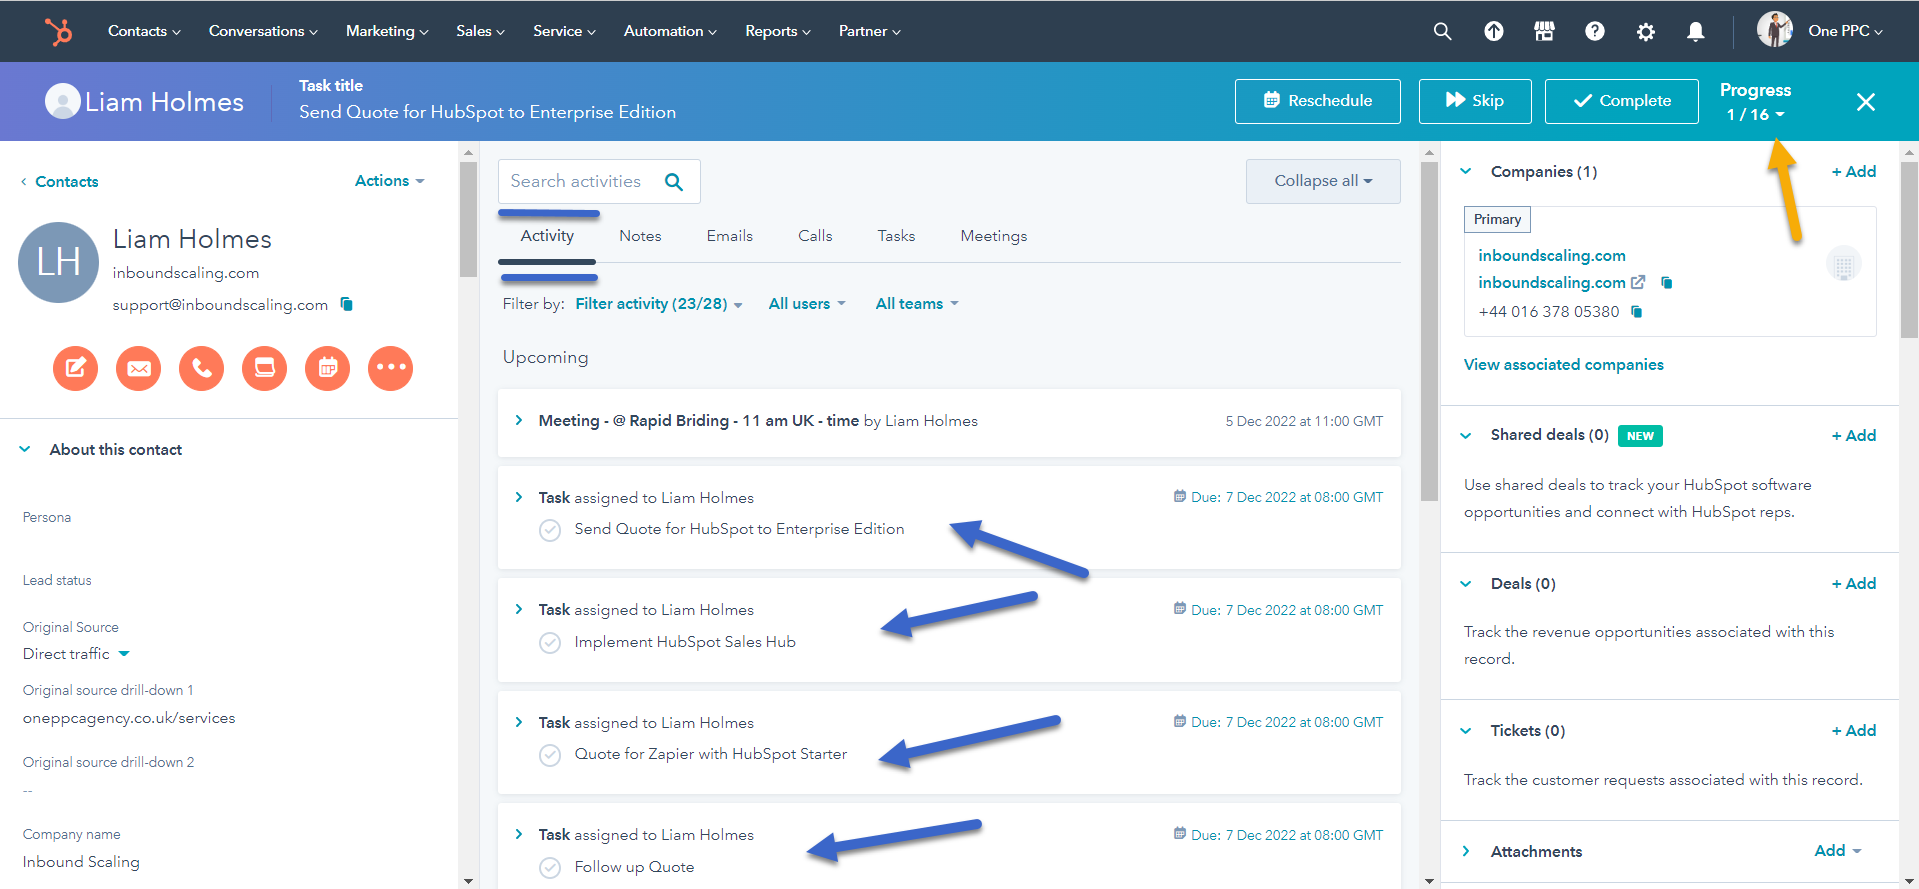
By utilising HubSpot Tasks, team members can easily collaborate, delegate responsibilities, and monitor the progress of various tasks in real-time. This not only helps to keep everyone informed about ongoing projects but also ensures accountability within the team.
In summary, HubSpot Tasks is an invaluable productivity tool for marketing, sales, and customer service professionals, offering a comprehensive solution to manage workloads, enhance collaboration, and optimise team efficiency.

The first step to optimising HubSpot tasks is to make sure you're assigning them to the right people. If you have a team of three people, there's no sense in assigning all of the tasks to one person. That person will quickly become overwhelmed and won't be able to complete all of the tasks promptly. Instead, spread the tasks out among your team members so that everyone has a manageable workload.
The second step to optimising HubSpot tasks is to set clear deadlines. If you don't set a deadline, your team members will likely take their time completing the task. But if you set a clear deadline, they'll be more likely to complete the task promptly. When setting deadlines, make sure they're realistic and that your team members have the time they need to complete the task.
The third step to optimising HubSpot tasks is to provide adequate resources. If you assign a task but don't provide the resources needed to complete it, your team member will likely struggle to complete the task. Make sure you provide all of the necessary resources upfront so that your team members can complete the task quickly and efficiently.
The fourth step to optimising HubSpot tasks is to give feedback regularly. If you wait until the end of a project to give feedback, your team members will likely have already forgotten about the task. But if you give feedback regularly, they'll be more likely to remember the task and complete it promptly. Feedback doesn't have to be negative, but it should be honest and helpful so that your team members can learn from their mistakes and improve their performance.
The fifth and final step to optimising HubSpot tasks is to be flexible. Things change all the time in business, and sometimes tasks need to be changed or added at the last minute. If you're too rigid with your tasks, you'll likely frustrate your team members and cause them to fall behind. Instead, be flexible and allow your team members to make changes as needed.
By following these five steps, you can optimise HubSpot tasks for efficiency and get the most out of your team. If you have any questions about HubSpot tasks or how to use them effectively, feel free to contact us. We're always happy to help!
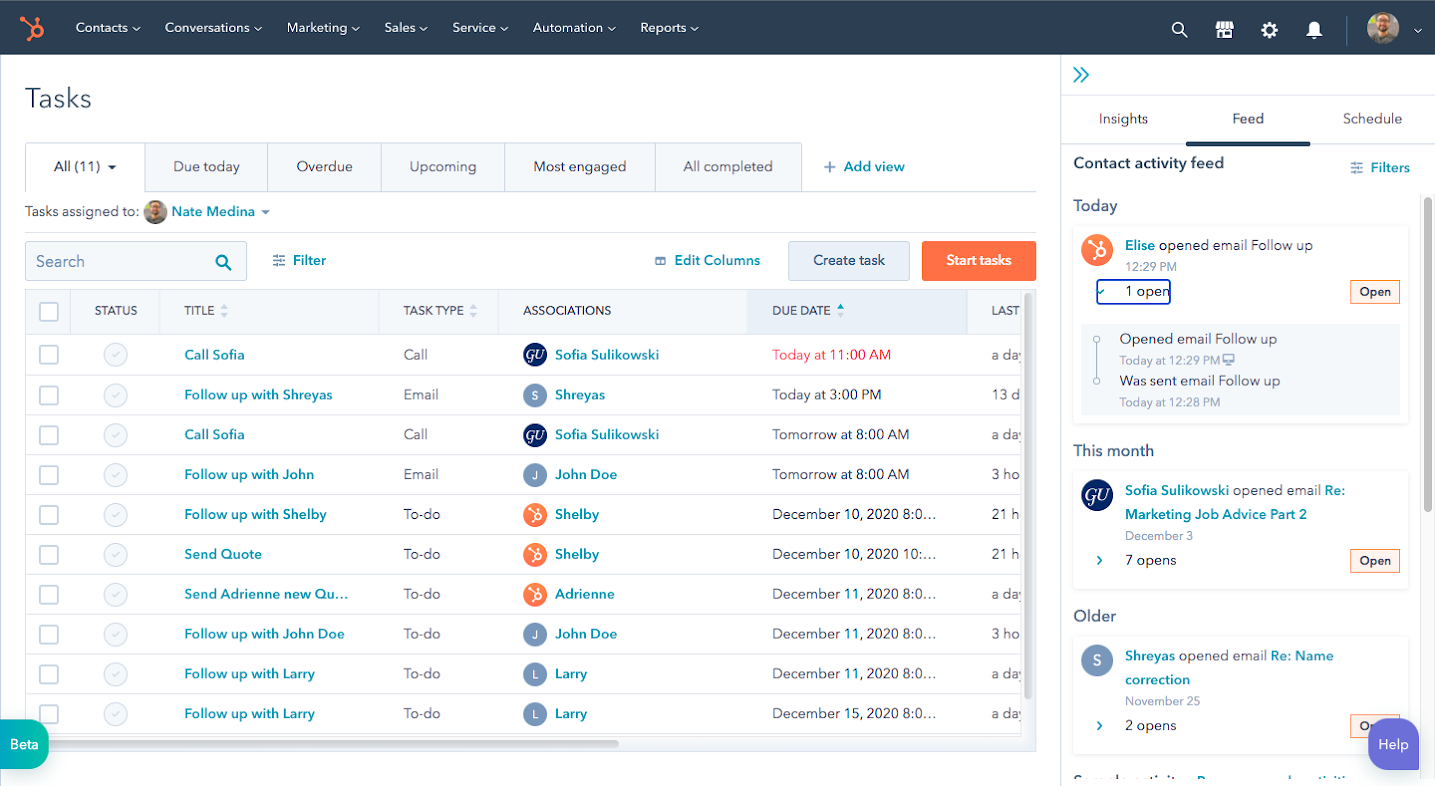
Monitor Task Performance
This section shows you how you've been performing your tasks. The graph will display tasks that have a due date of today and the next two days. Tasks outside of this date range will not display.
Insights
This tab gives you an overview of your past performance with tasks.
Activities:
This shows you the number of calls and meetings you've completed this past week. Only meetings in HubSpot with the outcome set to completed will be counted. This section shows you your activity in the past week compared to the previous week. This includes calls, emails, and meetings.
Deals:
Select Deals to view the number of deals you created this past week.
Feed
This tab shows you your activity feed. Click Filters and use the dropdown menus to filter based on specific activity types, sequence enrollment, or lifecycle stages. Once you've selected your filters, click Apply.
Schedule
This tab shows you a timeline of the events you have in your connected calendar for that day. Private calendar events will not be shown. You can click Today to view today's timeline and click the left and right arrows to move from day to day.
Once you've selected all of the options that you want, click "Save." That's it! You're now ready to start syncing tasks to your Google and Outlook Calendars.
1. To get started, go to your settings and select "HubSpot Tasks" from the left-hand menu.
2. Once you're on the HubSpot Tasks settings page, click on the "Add Queue" button.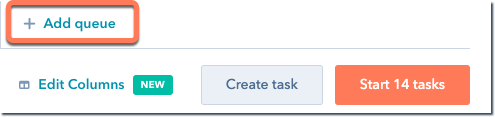
3. On the Task Queues page, you'll see a few different options that you can choose from.
4. The first option is to select which users on your team will have access to task queues.
5. The final option is whether or not you want to use the "My Tasks" filter. This filter allows you to see only the tasks that are assigned to you. If you decide that you do want to use the "My Tasks" filter, then you'll need to select which users on your team will have access to it.
Once you've selected all of the options that you want, click "Save." That's it! You're now ready to start using task queues.
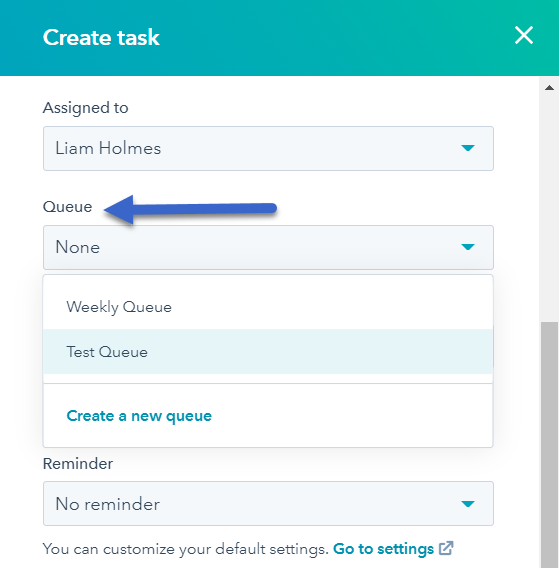
Assign tasks to a queue
In conclusion, HubSpot Tasks is a game-changing tool that holds the key to transforming the way your marketing, sales, and customer service teams operate. By embracing the powerful features, streamlined workflows, and collaborative capabilities offered by this versatile tool, your team can experience a significant boost in productivity, efficiency, and overall performance.
As we've outlined in this blog post, the key to unlocking the full potential of HubSpot Tasks lies in understanding its capabilities and implementing best practices. By following our expert tips and continually refining your task management processes, you'll empower your team to excel in their respective roles and achieve greater success.
Don't let disorganisation and inefficiencies hold your team back any longer. Embrace HubSpot Tasks and embark on a journey towards a more productive and efficient future for your business. Remember, when your team thrives, so does your bottom line.
If you want to learn more about HubSpot Marketing, see our guide to HubSpot Sales Hub
HubSpot Activities is the best way to stay organised and drive results. Easily keep track of all of your tasks, projects, and goals in one place.
HubSpot Projects is a game changer. Organise all your marketing projects with a range of templates and presets. Get the most out of projects now!
HubSpot Service Hub is an all-in-one solution for managing your customer services. Retain more customers while spending less time on servicing them.